A resource for couples, planners, and clients
Studio Blog
Explore behind-the-scenes insights, bold color stories, how-to guides, transparent budget breakdowns, and sustainable practices from a San Francisco wedding florist.

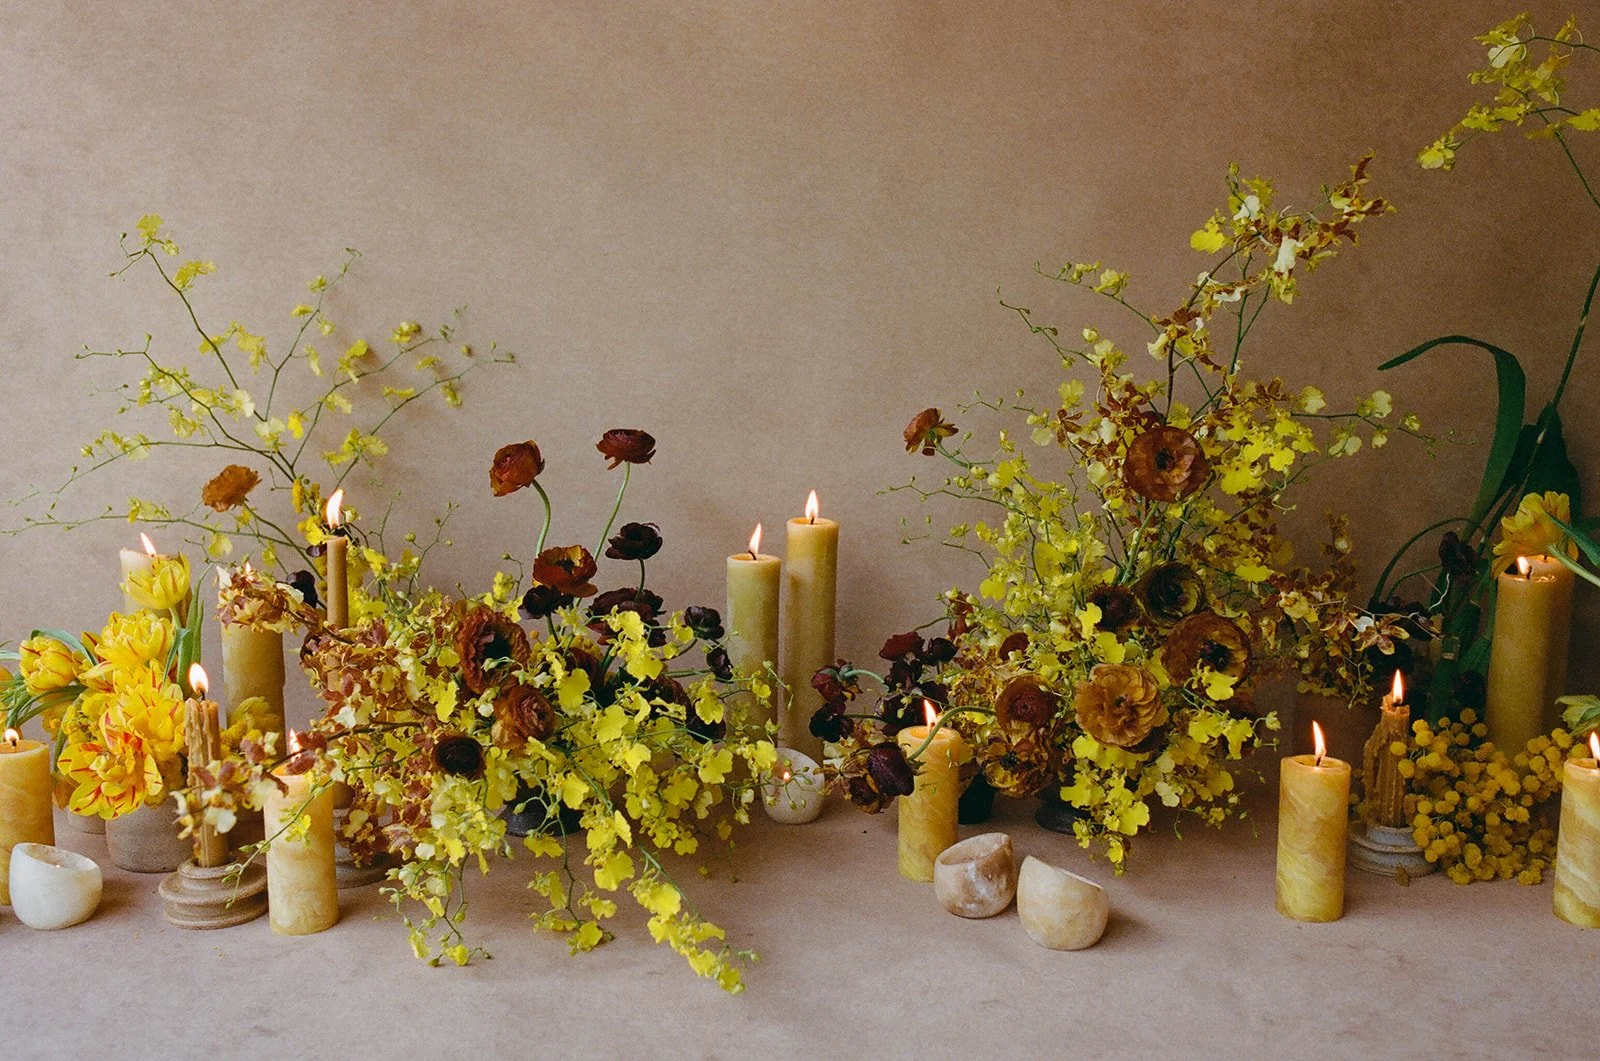
5 Curated Tablescape Design Ideas That Will Truly Elevate Your Wedding or Event
Discover 5 ways to elevate your wedding and event tablescapes with bold florals, unique textures, and modern design. See this Solage Calistoga table design by San Francisco wedding florist Anastasia Andenmatten—perfect inspiration for 2026 Bay Area and Napa Valley weddings.

Ask a San Francisco Wedding Florist: Design Process Explained (Vol. 2)
Part 2 of our Ask a Wedding Florist series dives into the most common questions about the design process of a weddings and events florist in the San Francisco Bay Area. From the initial inquiry process, to the sketches, moodboards, and renderings, to how we go about choosing flowers, and more!

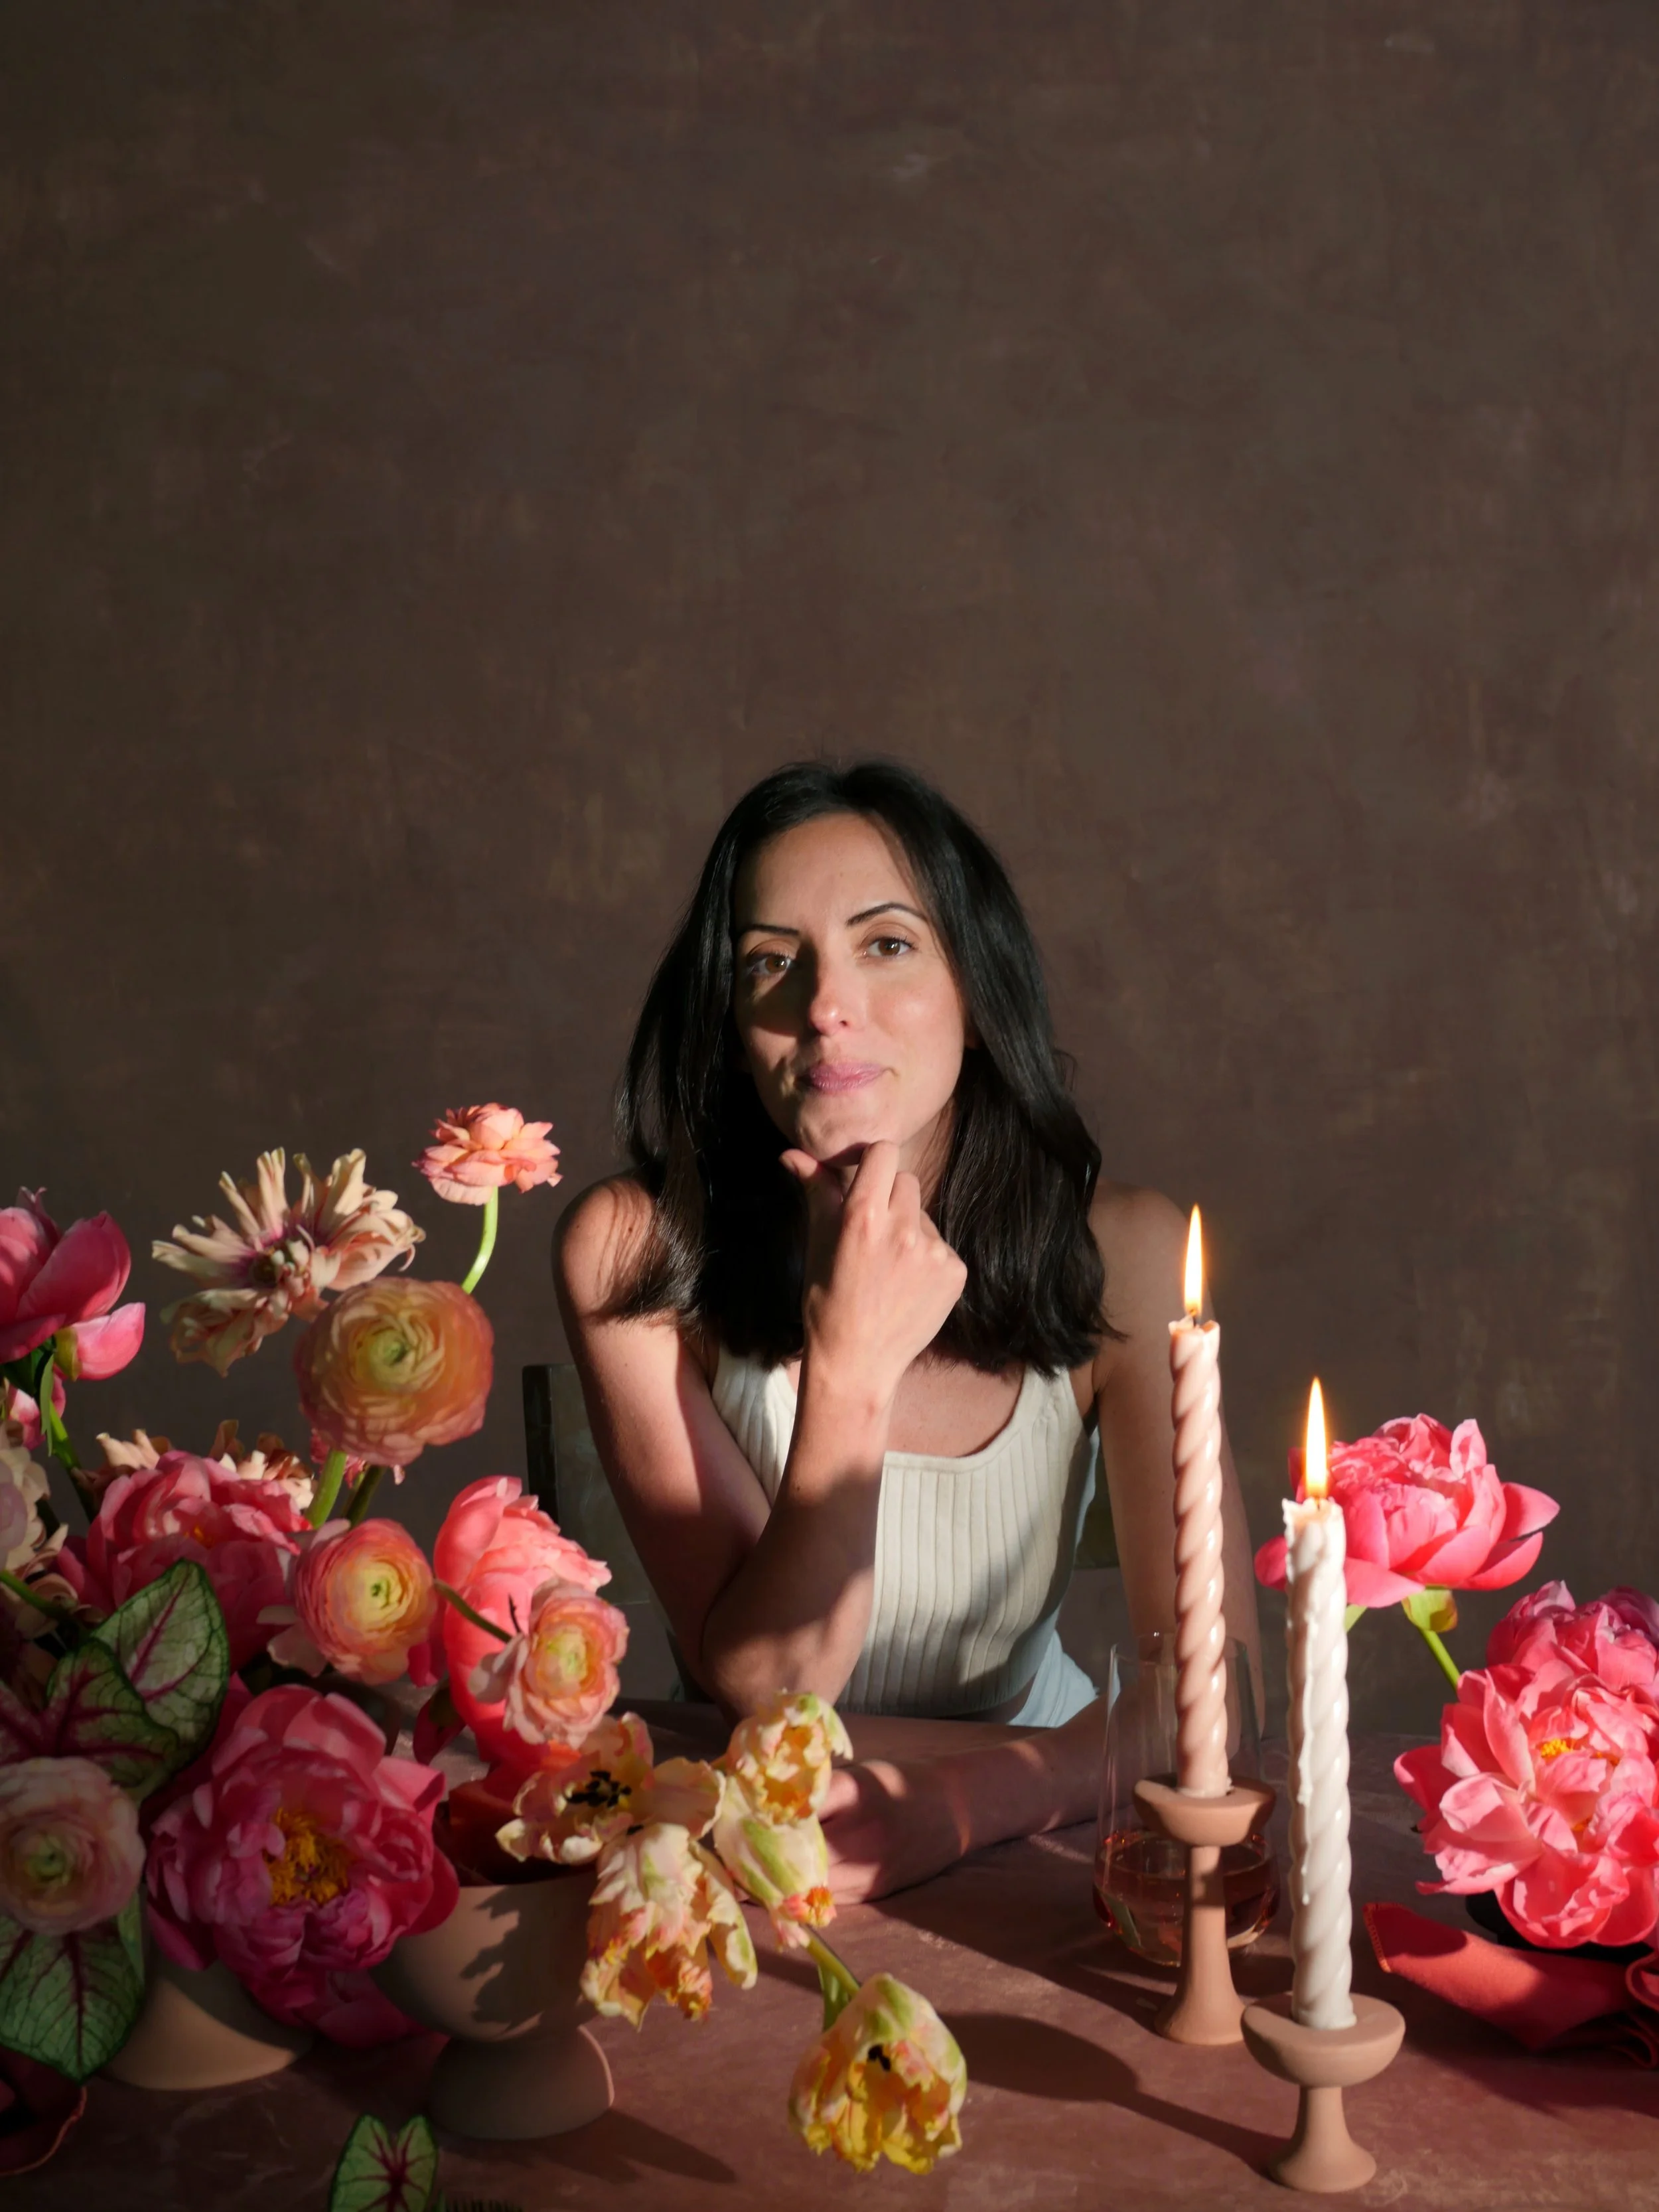
The Evolution of My Floral Design Career: Lessons From Years in Weddings & Events
The details of where exactly my journey into the world of flowers began, and how I've committed to evolving my craft over the last 19 (!!!) years.

A Dreamy Summer Elopement on Mt. Tam
Britney and Tyler’s intimate elopement celebration takes ‘picnic’ to the next level. Read on for some of my favorite moments!

7 Tips for Creating Your Wedding Moodboard
Newly engaged or planning a wedding!? A moodboard is the #1 tool for drawing inspiration and clearly communicating your wedding style to vendors. This in turn allows your vendors to collaborate to bring your wedding day vision to life! Here are 7 quick tips that will help you create a curated moodboard for your wedding and get you closer to that vision.

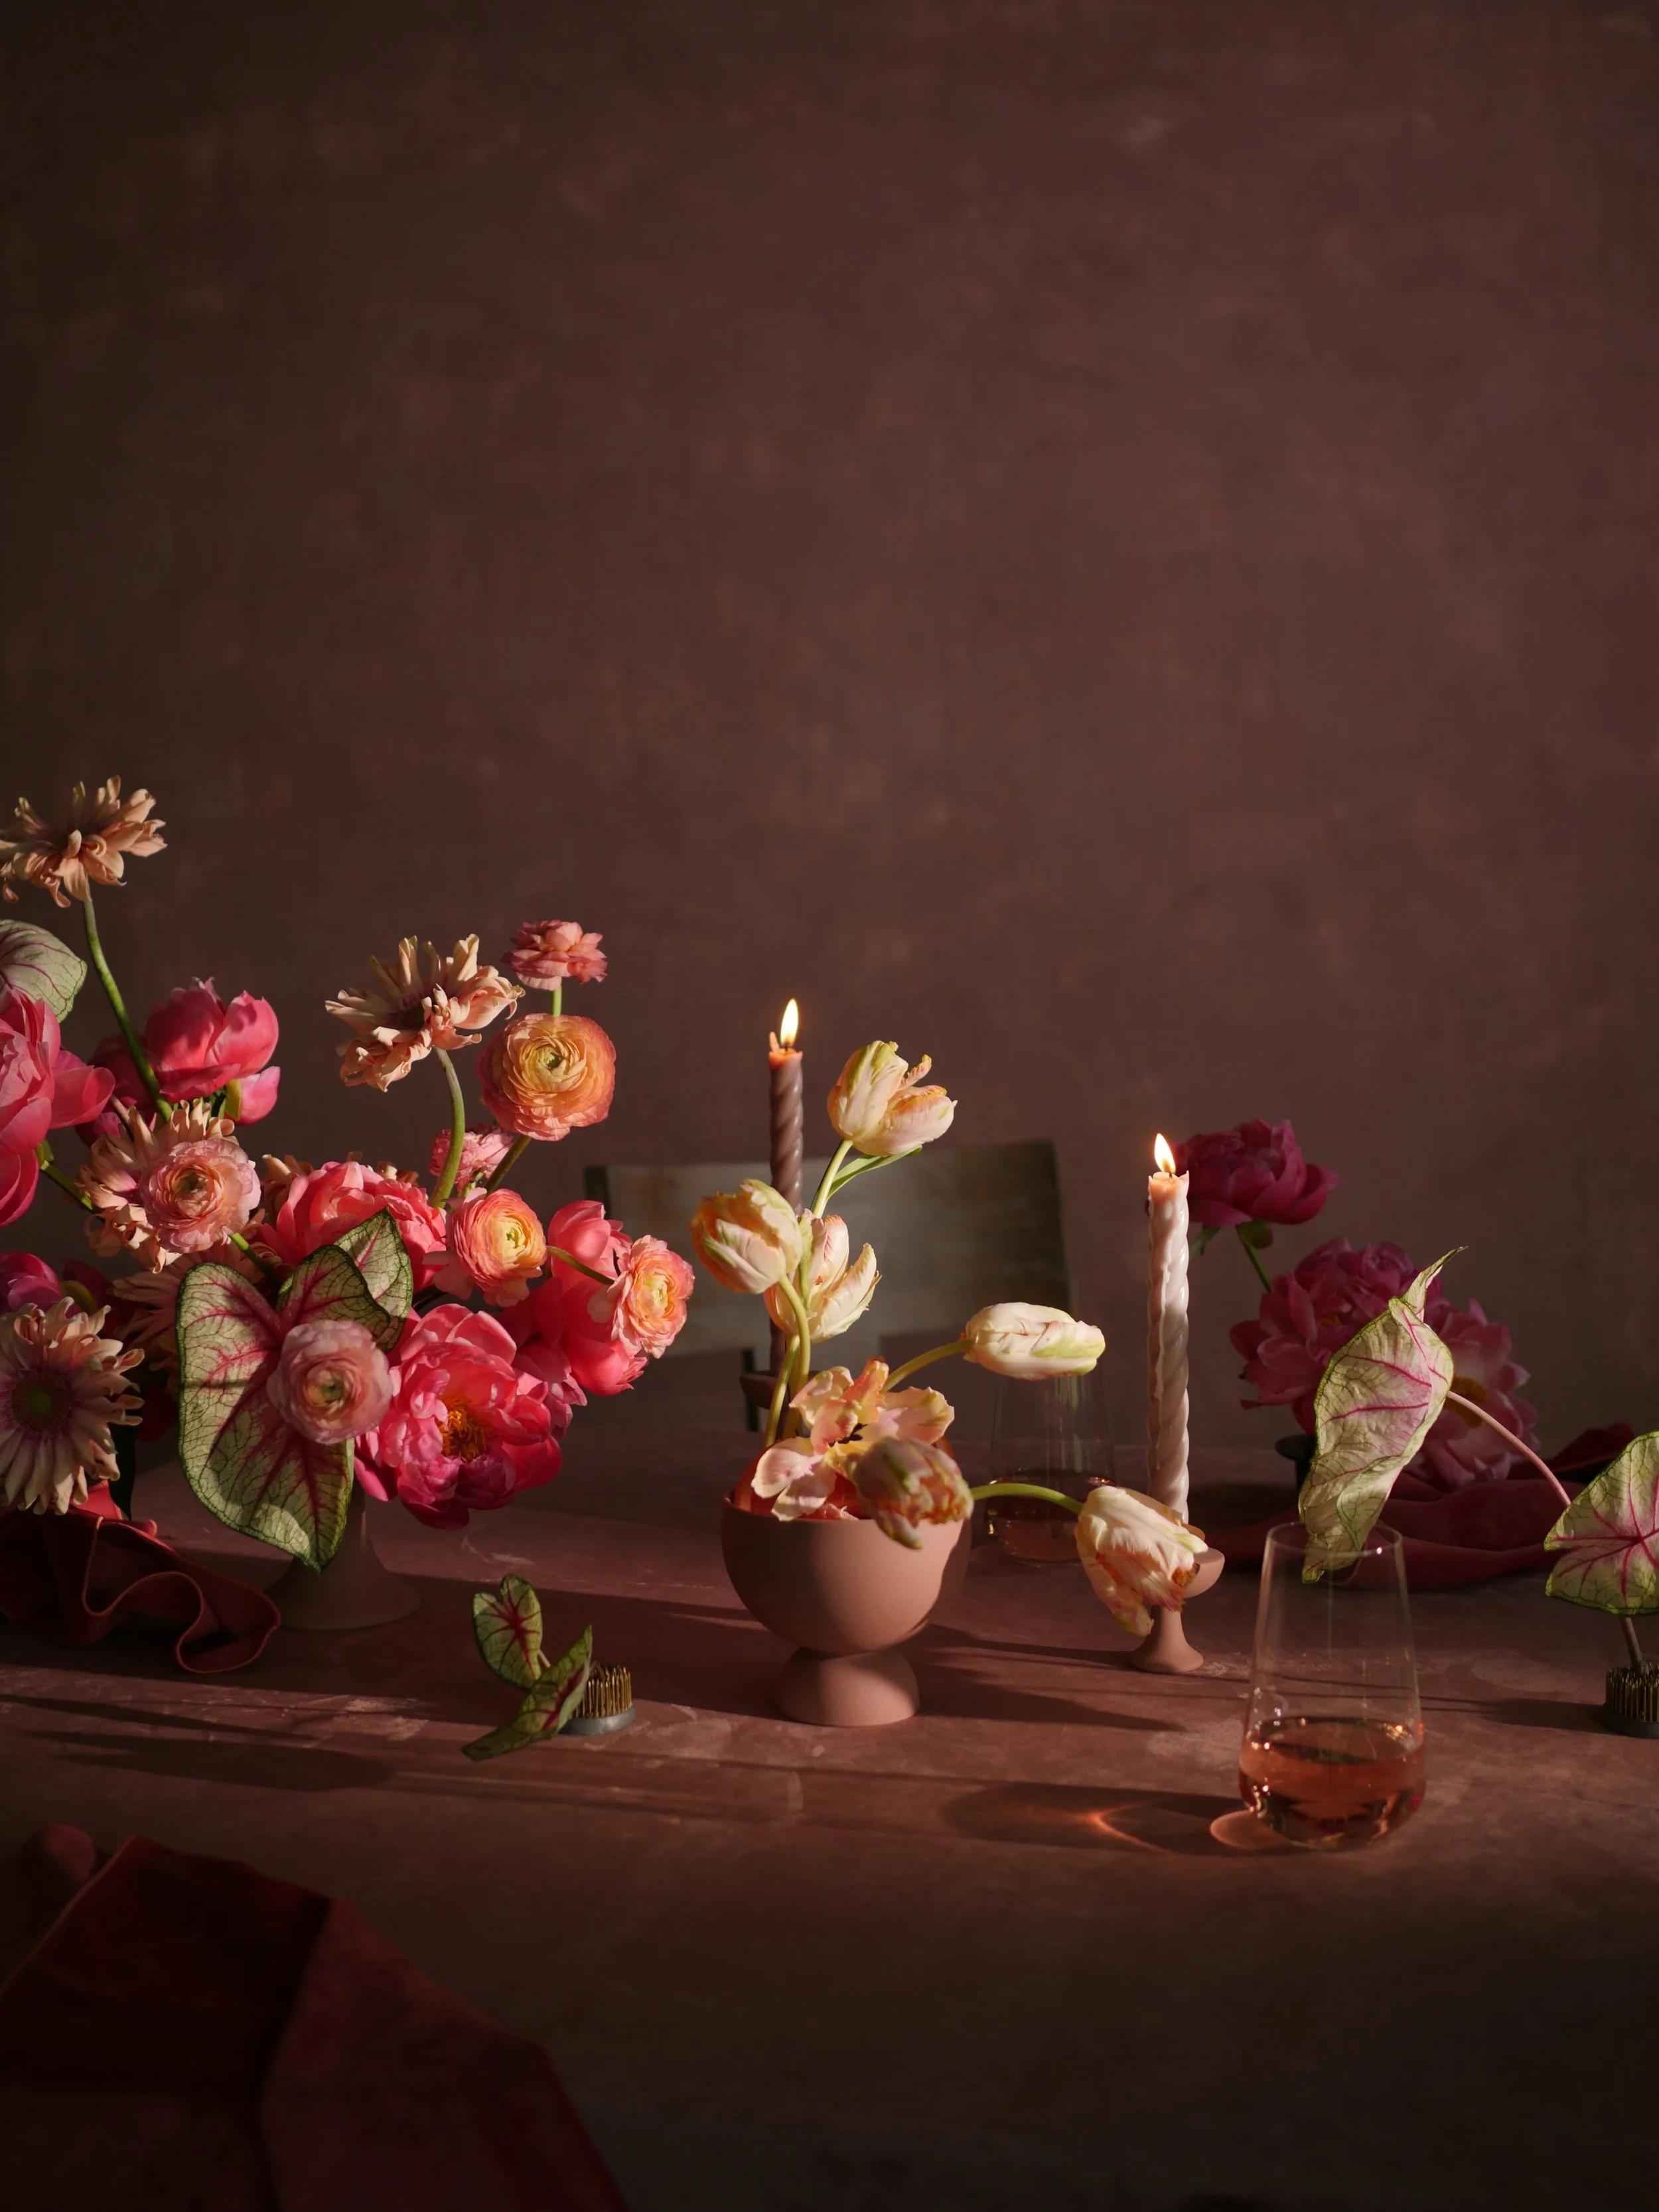
A Guide to Vision Boarding with Purpose
I’d like to share with you a part of my creative process that I’ve found really helpful, especially in the past few weeks: vision boarding. Vision boarding is a tool I’ve implemented both in my personal life and in my business. Here’s what you’ll find in this post:
The truth about vision boards
Step-by-step instructions to create an effective vision board
3 real life examples of vision boards I’ve created
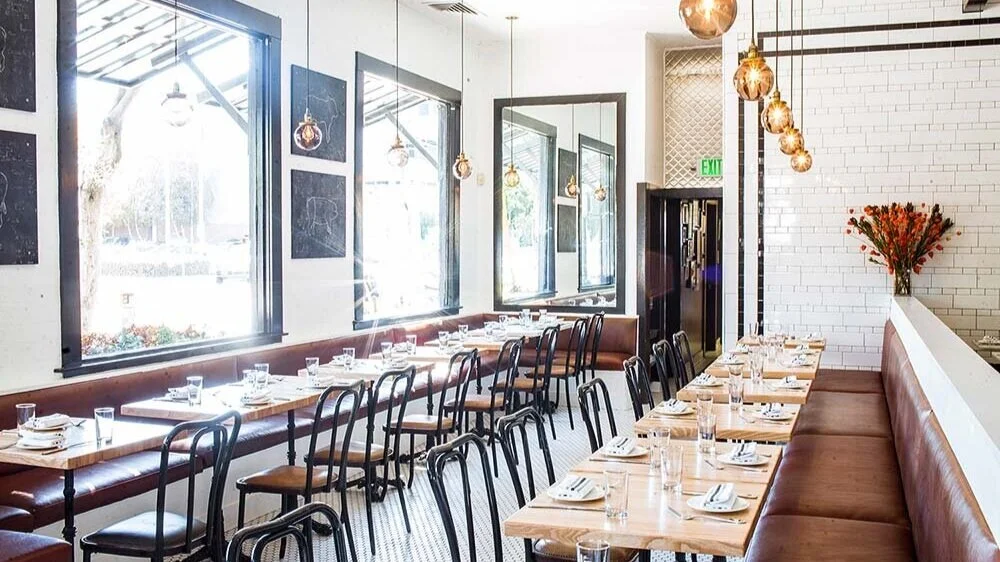
28 SF Restaurants Ideal for a Small Celebration
Dreaming up a distant celebration once things are back to normal? Here’s a list of some of the best spots in San Francisco for private events AND ways to support them through this time. Whether it be an intimate wedding, anniversary party, City Hall elopement celebration, or wedding rehearsal dinner you’re planning, you won’t go wrong choosing any of these.

An On-Stage Wedding at San Francisco's Great American Music Hall
From day one of planning, Eliza and Ryland set out to create a memorable experience for their guests. And they wanted the floral concept to play a leading role. Read more about their autumn wedding at San Francisco’s historic Great American Music Hall.
From Consultation to Installation: 7 Ways We Work With Wedding Clients on Floral Design
When I was planning my own wedding, I had a lot of questions floating around in my head about the process of working with a floral designer. In this post I share the ways in which I typically work with my wedding clients, to help you understand what the planning process might look like for you. I hope you find it helpful!

Choosing Your Wedding Florist: 9 Things Every Couple Should Know
Often times, planning a wedding is the first introduction to flowers for many people. It’s all one big learning process, and finding a florist can seem so daunting. Here are some tips on ways to navigate your own search for your wedding florist.
5 Steps I Took to Start My Own Floral Design Business in San Francisco
At times, starting my own floral design business in San Francisco has felt like one giant leap. But really, it’s been many baby steps. My hope is that by being transparent about my story, I can help inspire someone else to take a small step in the direction of their dreams. From booking my first clients, to quitting my 9-5 job, and all the steps in between — read on to see how I did it.